
Introduction
These are simple instructions on how to create a booking in the website. Note:
- The following screenshots were taken from a laptop, a tablet will look very similar. On a phone there may be some differences in appearance, but the flow is the same.
- The following instructions are for Members and not for admins. Recurring bookings can be created via Google Calendar and if you need to make them please contact the Committee.
- The default booking period is 30min, with extension possible up to 90min
- To make bookings on this site, you will need a login. You will normally receive a login when you purchase a membership, but if you need a login please contact Marcus Binning
Step one – visit the booking page
This is done by visiting shiplaketennisclub.co.uk and clicking on the “Book a Court” button in the top right hand corner.
If you have not already logged in, you will be requested for your login details (typically your email as Username and password as provided when you purchased your membership). This will take you to the “My Account” page:
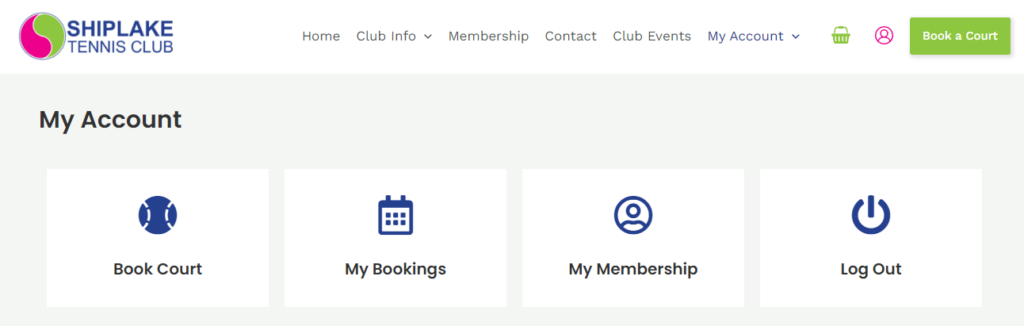
Click on the “Book a Court” button. To be able to see all existing bookings in a Google Calendar, click the “Live Bookings” button

All current bookings will be shown as below, you can navigate to the week you’re interested in using the navigation buttons (this is an embedded google Calendar). PLEASE NOTE: This is for display only, you cannot make bookings through this calendar.
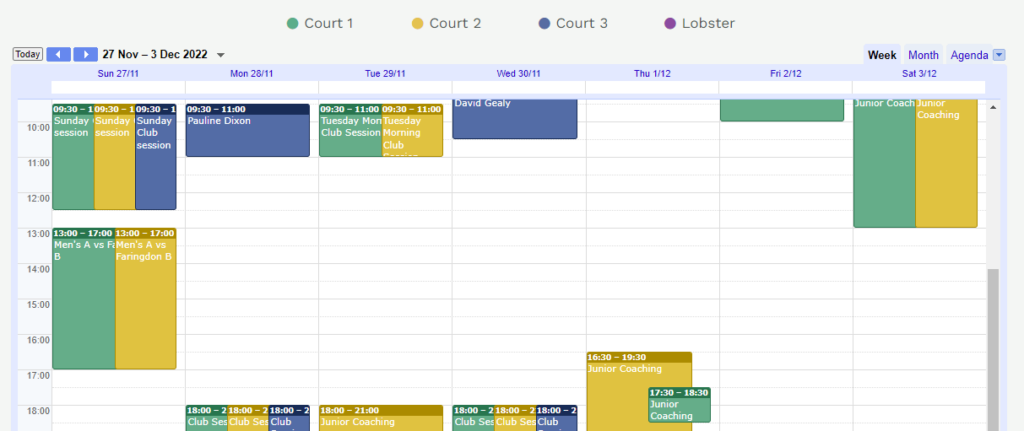
Once you have decided when to book, click the “Book a Court” button just above the calendar to return to the booking pane.
Step two – Select Court, Date, Time
Select the court you wish to play on and click the “Next Step” button (bottom right) to select the date and then the time. NOTE: At this point we select the first 30min slot we want to book, then click “Next Step”.

If you want to make the booking longer than 30min, use the “+” and “-” buttons to add on extra 30min slots ..

The next pane is your member details (for confirmation etc) which should be auto-filled. Click the “Next Step” button.

You can repeat this process to add more bookings, and when you are satisfied you can click on the “Confirm Booking” button:
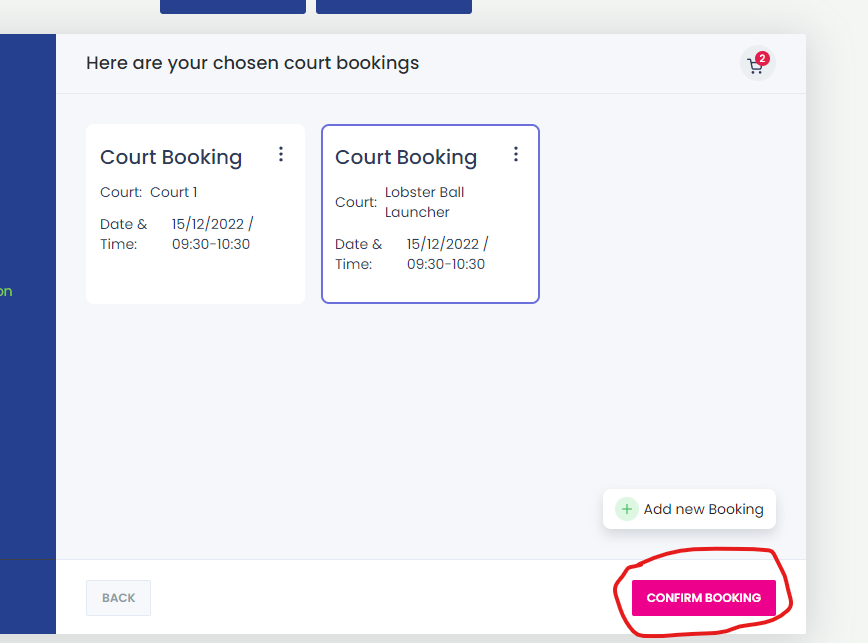
Now if you click on “My Bookings” you will see your pending bookings, and also you will receive a confirmation email.
Deleting a Booking
If you want to delete a booking, go to the “My Bookings” view and click on the arrows at the right to change its status

In the popup that appears, use the pull-down on the right to select the “Canceled” status..

And then click “Save”.
If you have any suggestions for improving this page, please email Marcus Binning